

Ever heard of LeiaPix Converter and scratched your head? You’re not alone. In today’s rapidly evolving digital landscape, LeiaPix Ai is making waves, and for good reason.
Curious to know more? Stick around, and let’s unravel the magic behind this groundbreaking tool together.
1 What is LeiaPix?
LeiaPix is a digital tool designed to transform 2D images into 3D depth animations. By leveraging advanced algorithms and AI technology, it offers users an immersive visual experience, making photos more engaging and lifelike.
Instead of merely viewing an image, LeiaPix Converter allows users to feel as though they are part of the depicted scene.
Depth Animations Explained
Now, let’s talk depth animations. Think of them as the next evolution of your regular animations. Instead of just moving side to side or up and down, depth animations have, well, depth. They pull you in, make you feel like you’re part of the scene. It’s not just about motion; it’s about creating a 3D experience from a flat image.
2 Step-by-Step Guide to Using LeiaPix Ai
Ready to dive into the world of 3D imaging with LeiaPix ? Let’s walk through it together, step by step.
Setting Up an Account
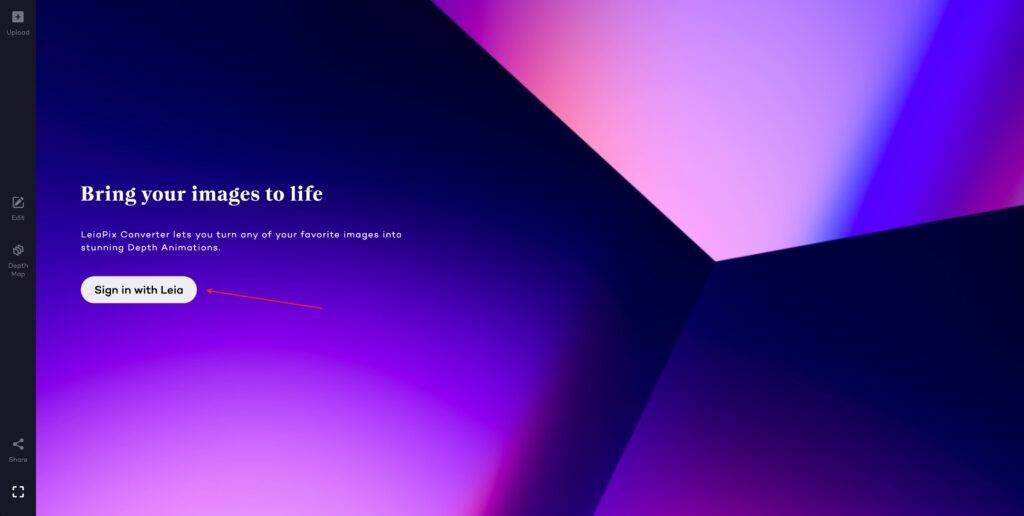
- Navigating to the Platform: First things first, open up your browser and head over to convert.leiapix.com. Picture a clean, user-friendly interface waiting to welcome you.
- The Sign-Up Process: Now, you’ll spot an option to sign up. It’s a straightforward process, much like signing up for any online service. Just a few clicks, some basic details, and you’re in!
Uploading Your Midjourney Image
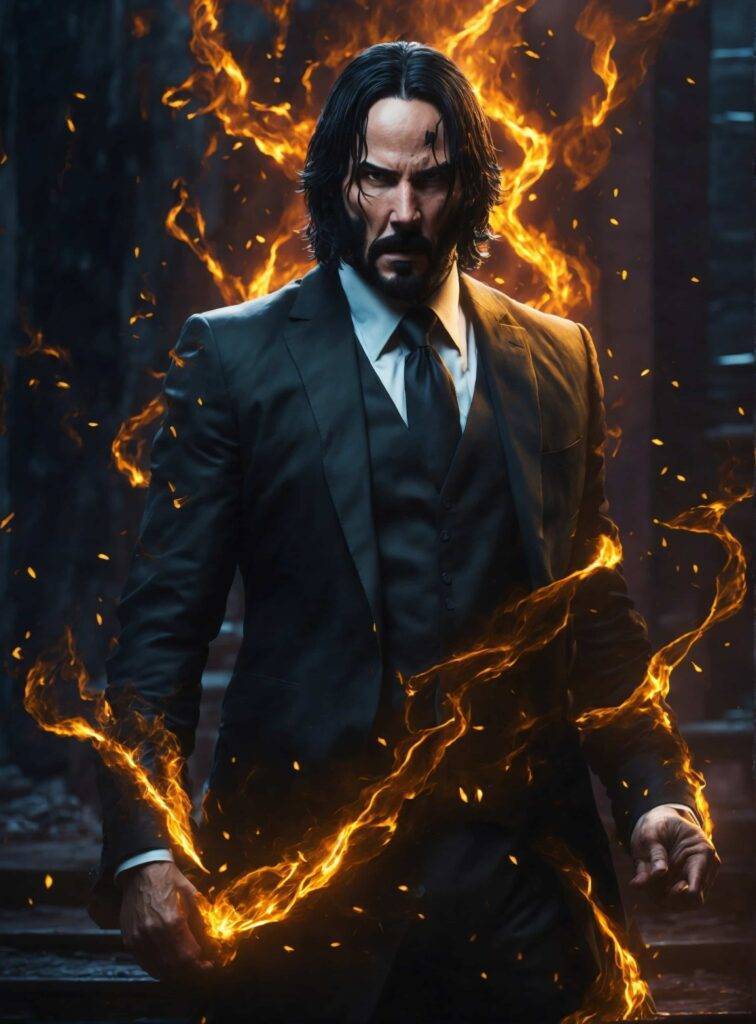
Alright, let’s get to the fun part! You’ve got this cool image, say, of John Wick turning Super Saiyan (how epic is that?), and you’re itching to see it come alive in 3D. Let me guide you through the process.
First, a quick note: What Is Midjourney ? For those not in the know, Midjourney is an AI image generator. It crafts unique, often mind-blowing visuals by merging different concepts. But here’s the thing, while our example is a Midjourney creation, LeiaPix Converter isn’t picky. You can use any image you fancy!
- Clicking the Plus Icon: Once you’re on the LeiaPix dashboard, you’ll spot a plus icon. That’s your go-to button. Give it a click, and a window will pop up, beckoning you to upload your image. For our journey, let’s pick our John Wick turned Super Saiyan masterpiece.

- What to Expect: As soon as you’ve uploaded the image, the magic begins. The platform will start its AI-driven conversion process. It’s like watching a chef craft a gourmet dish, but digitally.
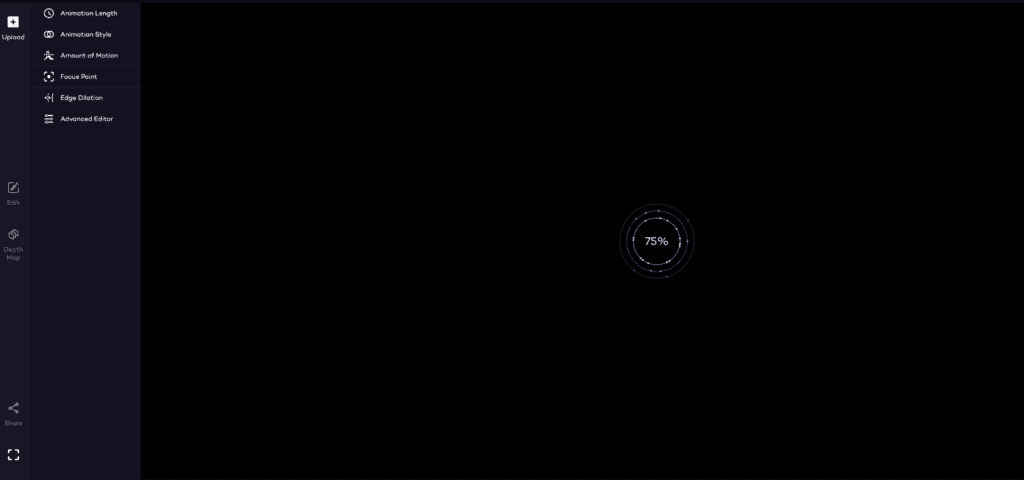
- Time Frame for Conversion and Initial Results: Patience is key! In about 8 to 10 seconds (yes, it’s that quick!), you’ll witness your image transform. John Wick won’t just be turning Super Saiyan on a flat plane; he’ll be doing it with depth, dimension, and dynamism. It’s like he’s leaping out of the screen!
View the generated results here
Customizing Your 3D Animation
So, you’ve got this epic image of John Wick turning Super Saiyan, and you’re ready to give it that 3D magic touch. Let’s walk through the customization process together, shall we?
- Adjusting the Animation Duration: Once your image is uploaded, you’ll notice an icon that lets you set the animation’s length. Want John Wick’s Super Saiyan transformation to be swift and intense? Set it to a quick one second. For a more dramatic, drawn-out effect, you might opt for six seconds. For our example, let’s go with a smooth three-second transformation, capturing every detail of the energy surge.
- Choosing the Direction of Movement: Next up, you’ll see icons that dictate how your image moves. Whether it’s just on the x-axis (back and forth) or in a full circle, you decide. For John Wick, let’s have him move in an elliptical horizontal motion, emphasizing the power radiating from him.
- Tweaking the Amount of Motion: There’s an icon that lets you adjust the motion’s intensity. More motion gives a dynamic feel, while less can be subtle and nuanced. Given the intensity of a Super Saiyan transformation, let’s crank it up and opt for more motion!
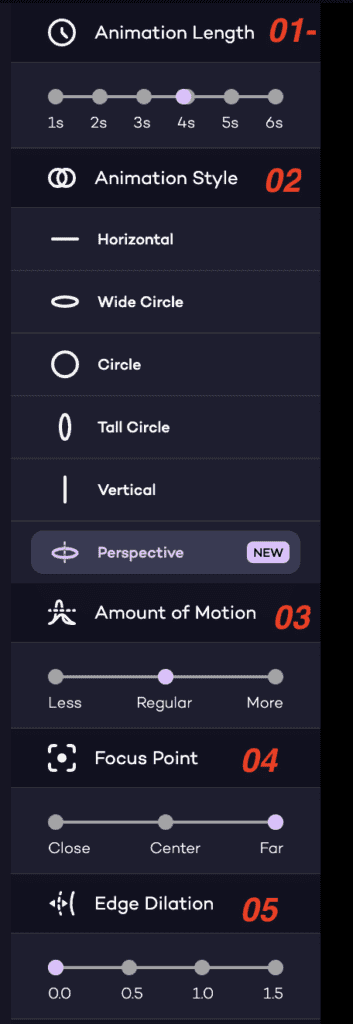
- Setting the Focus Point: This is where things get immersive. You can focus on the center, giving a balanced view, or go for a close-up, making it feel like you’re right there with John Wick. There’s also a ‘far’ option, emphasizing the background. For our scene, let’s choose ‘center’ to keep John Wick as the main attraction.
- Edge Dilation for Image Sharpness: Ever noticed blurry edges in some animations? That’s where edge dilation comes in. It ensures your image remains sharp and clear, especially crucial for detailed scenes like ours. For John Wick, we want every detail crisp, so let’s ensure edge dilation is on point.
Advanced Editing with LeiaPix Converter
So, we’ve got our Super Saiyan John Wick in 3D, but what if we want to fine-tune the animation? Let’s dive deeper into the advanced features of LeiaPix Converter.
The Advanced Editor Panel
Once your image is uploaded and the initial conversion is done, there’s a whole world of customization waiting for you:
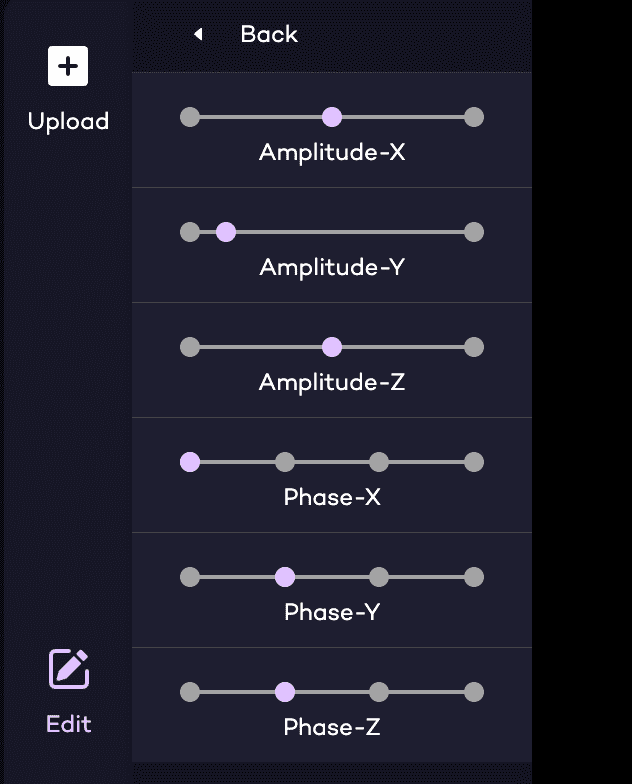
- Toggling Different Settings: On the left side, you’ll find the advanced editor. Here, you can play with various settings to achieve unique effects. For instance, there’s a “phase y” option. Toggle it, and you’ll notice John Wick’s movement changes, giving a different feel to the animation.
- Adjusting Movement Axes: Remember the x, y, and z-axes we talked about? Here’s where you can fine-tune them. The x-axis controls horizontal movement, y-axis for vertical, and z-axis for depth. For our Super Saiyan transformation, maybe we want more depth, so we’ll increase the z-axis movement.
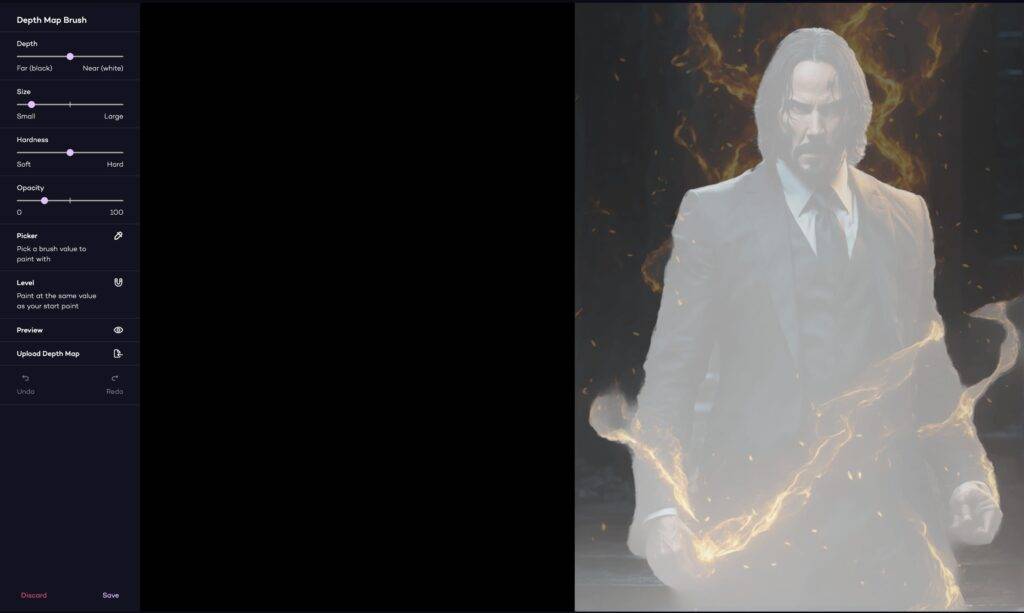
Depth Map Deciphering
This is where things get a tad technical, but stick with me:
- Understanding the Depth Map: The depth map is like a blueprint. It tells LeiaPix Converter how to differentiate between the foreground and background. In our John Wick image, it ensures he stands out while the background remains, well, in the background.
- Foreground vs. Background: The platform uses the depth map to decide what’s up close and what’s far away. For instance, we’d want John Wick to be the main focus, right? So, he’d be in the foreground, while the rest fades slightly into the background.
- Spotting Imperfections: No tool is perfect. Sometimes, you might notice slight halos or blurs, especially when there’s a lot of movement. But remember, LeiaPix Converter is constantly learning and improving. And even with these tiny imperfections, the results are still pretty impressive!
LeiaPix Alternatives
In the vast realm of 3D image conversion, there are several players, but two giants stand out: LeiaPix and Gen 2 Runway . Let’s delve into how they stack up against each other.
LeiaPix vs. Gen 2 Runway

- Side-by-Side Comparison:
- LeiaPix: Known for its user-friendly interface and rapid conversion times, LeiaPix shines when it comes to turning 2D images into immersive 3D experiences. Its proprietary AI models ensure detailed and accurate depth animations.
- Gen 2 Runway : While also a powerful tool, Gen 2 Runway ML might have a steeper learning curve for some. It offers a range of features, but the results can vary based on the image and settings used.
- Strengths and Weaknesses:
- LeiaPix Strengths: Quick conversions, intuitive UI, and high-quality depth animations.
- LeiaPix Weaknesses: Might occasionally have slight halos or blurs with intense movements.
- Gen 2 Runway Strengths: Offers a wide range of features and customization options.
- Gen 2 Runway Weaknesses: Can be more complex for beginners and might require more tweaking to get the desired result.
Practical Applications of LeiaPix Converter
Diving into the world of 3D imaging is thrilling, especially with tools like LeiaPix Converter at our fingertips. But beyond the cool factor, how can we practically use this technology in our daily lives? Let’s explore.
Personal Uses
- Bringing Personal Photos to Life: Imagine taking a cherished memory, like a photo from a family gathering, and giving it a 3D twist. It’s not just about viewing a moment; it’s about reliving it. With LeiaPix Converter, you can breathe life into those static memories.
- Creating 3D Memories – The “Mona Lisa Effect”: Ever noticed how Mona Lisa’s eyes seem to follow you? That’s the depth and dimension we’re talking about. With LeiaPix, your photos can have a similar mesmerizing effect, making the subjects pop and drawing the viewer in.
Professional Uses
- Enhancing Digital Art Portfolios: For digital artists, LeiaPix Converter is a game-changer. It allows them to showcase their work in a whole new light, adding depth and dimension to their creations.
- Integrating 3D Animations into Presentations and Marketing Materials: For professionals, imagine integrating 3D animations into presentations. It’s not just about conveying information; it’s about captivating your audience. Similarly, marketers can use LeiaPix to create engaging ads that truly stand out.
Conclusion: The Revolution of 3D Imaging
The digital landscape is ever-evolving, and 3D imaging is at the forefront of this revolution. Gone are the days of flat, static images. Today, we’re stepping into a world where images leap off the screen, offering immersive experiences that captivate and inspire. The significance of 3D imaging, especially with tools like LeiaPix Converter, cannot be overstated.
But don’t just take our word for it. Dive in, experiment, and see the magic unfold with your own images. And once you’ve crafted your 3D masterpieces, share them! Let the world see the depth of your creativity.
Looking to elevate your 3D creations even further? Check out our article on the Photorealistic ChatGPT Plugin. It’s the perfect companion to help you craft Midjourney prompts and get the most out of your images. Dive in and discover a world of possibilities!


Discussion about this post